 June 16, 2022
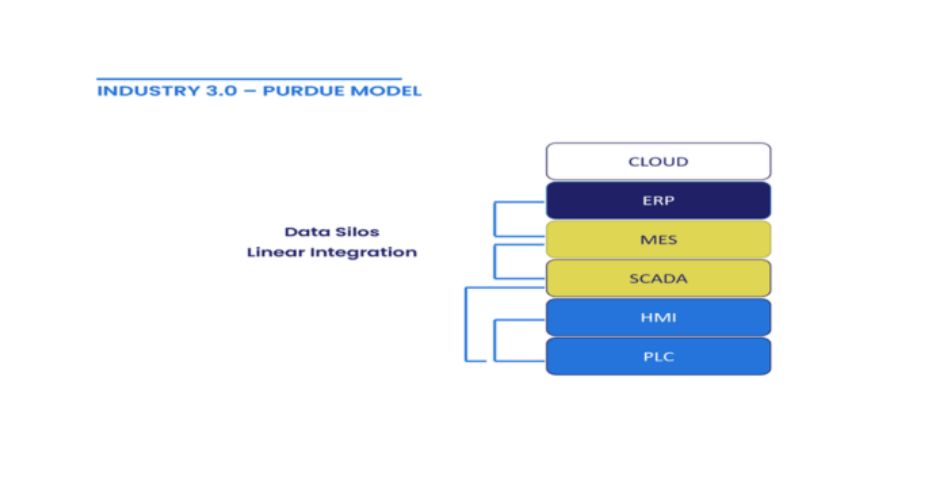
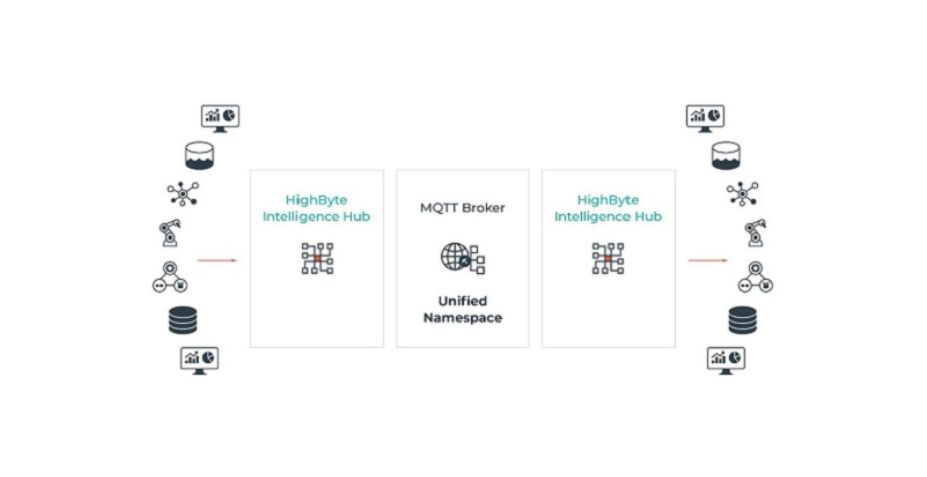
  We are currently working with a greenfield food and beverage startup and are implementing a unified namespace. To put it simply, a unified namespace is a centralized repository of structured data in which any application or device can subscribe and/or publish data to. In our case this centralized repository is an MQTT broker.
For plant floor device integration, we are using HighByte Intelligence Hub to model information from plant floor devices and ‘flow’ that data to the broker.
HighByte Intelligence Hub enables manufacturers to securely connect, model, condition, and flow valuable industrial data to and from IT systems without writing or maintaining code.
The Intelligence Hub merges real-time, transactional, and time-series data into a complex UNS data hierarchy. With the Intelligence Hub, users can speed system integration time, rapidly leverage contextualized data for analytics, AI, and ML applications, and govern data standards across the enterprise without writing custom code or troubleshooting broken integrations.
The project necessitated that we publish information from their cloud-based ERP system, which does not natively support MQTT but does support REST HTTP POST operations. Since we already had the Intelligence Hub available to us (its professional licensing option provides unlimited installations within one site) we decided to implement its webhook connector to ‘flow’ the information from the ERP system to the broker.
The following tech tip will outline the steps required to setup the webhook connection and use Postman to simulate the HTTP Post from the ERP system. You’ll need the following components if you’d like to follow along:
- An MQTT Broker. We are using HiveMQ CE but any broker will suffice. You can download HiveMQ CE here.
- HighByte Intelligence Hub. If you would like a trial version of the Intelligence Hub CONTACT US and we can facilitate that for you.
- Postman which is a great tool for building and testing API interfaces. You can download Postman here.
- MQTT Explorer which allows a quick methodology to subscribe and view information from an MQTT Broker. MQTT Explorer can be found here.
The article assumes that you have all components above installed and configured.
Step 1: Create a Webhook connection
-
- Navigate to the connections section and click ‘Create Connection’:

- In the Details section give the connection a name such as ‘Webhook’. Click ‘Next’.
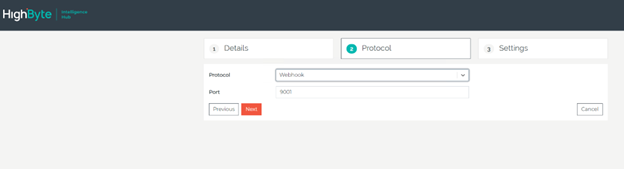
- In the Protocol selection choose ‘Webook’ from the drop-down list and leave the default port of 9001. Click ‘Next’.
- Leave the default settings in step 3 and click ‘Submit’. The Webhook connection should appear on the ‘Connections’ Page.
- Navigate to the connections section and click ‘Create Connection’:
Step 2: Create an Input for the Webhook connection:
-
-
- Click on the Webhook connection to navigate to its details. Go to the Inputs tab and create a new input.
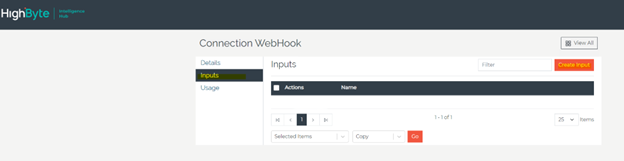
- Give it a name and click ‘Submit’.

- Click on the Webhook connection to navigate to its details. Go to the Inputs tab and create a new input.
-
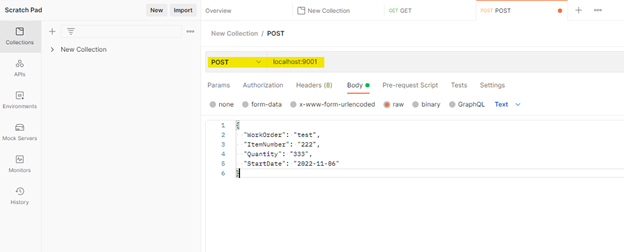
Step 3: Now that an input is created, we can send data to the Highbyte Webhook using an API client like Postman.
-
- Using a POST request to the Highbyte’s URL (localhost:9001), we send a JSON string:
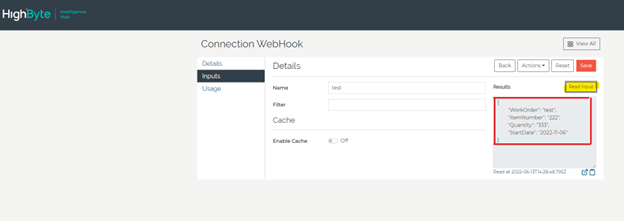
- Verify the webhook is configured properly by navigating back to Highbyte’s Webhook input that we created, hitting the “Read Input” button returns the JSON that was sent via Postman.
- Using a POST request to the Highbyte’s URL (localhost:9001), we send a JSON string:
Step 4: With the Webhook connection setup completed and tested we need to create a connection to your MQTT broker:
-
- Navigate to the Highbyte webpage and click ‘Create Connection’.

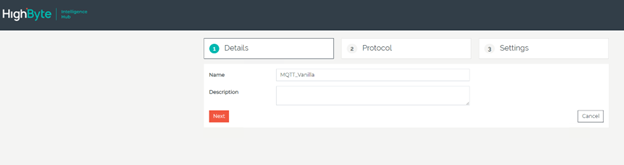
- Name the connection and click ‘Next’.
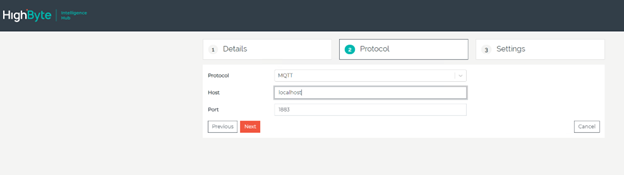
- Select the “MQTT” protocol, then set “localhost” as the host and 1883 as the port. Click ‘Next’.
- On the settings Leave everything as default in the next page and click ‘Submit’. The connection should now show on the “Connections” page.
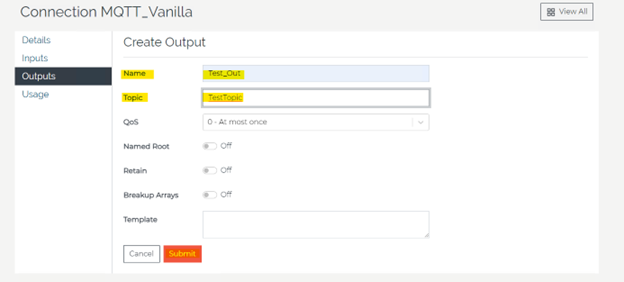
- Click on the MQTT_Vanilla connection to navigate to its details. Go to the Outputs tab and click ‘Create Output’.
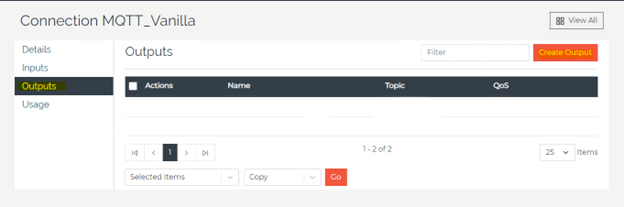
- Give the output a name and topic and click ‘Submit’.
- Navigate to the Highbyte webpage and click ‘Create Connection’.
Step 5: Now that we have our connections created and tested we can create a ‘flow’ that sends data from the Webhook to the MQTT Broker:
-
-
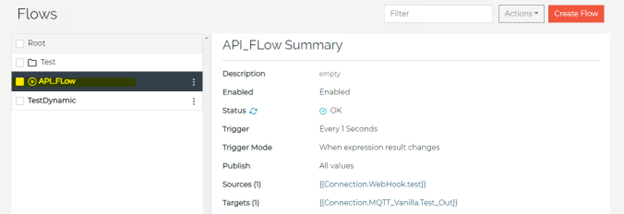
- Navigate to the “Flow” tab and click ‘Create Flow’:
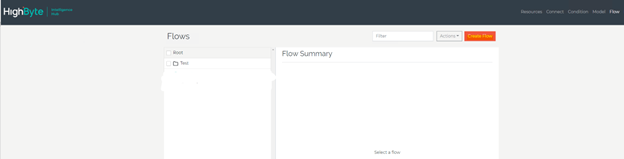
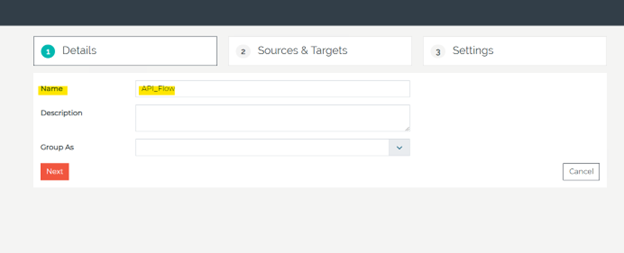
- On the Details page give the flow a name and click ‘Next’.
- On the ‘Sources & Targets’ the source will be the webhook connection. Select it from the dropdown menu and drag and drop it into the “Sources” box. As you can se below HighByte automatically took care of parsing the JSON string for you and extracting the fields. This truly showcases the low-code functionality of HighByte.
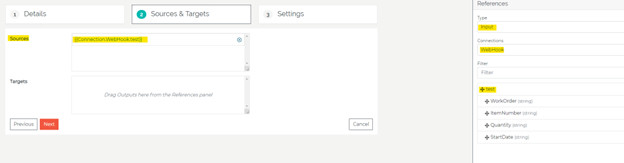
- The Target will be the MQTT output that we defined in the previous steps. Select the MQTT connection from the drop down and drag and drop the output that we defined into the “Targets” box. Click ‘Next’.

- The next tab will determine the trigger. Leaving the default settings will trigger the flow whenever the source information changes. Click ‘Next’ and the Flow will be created.
- Navigate to the “Flow” tab and click ‘Create Flow’:
-
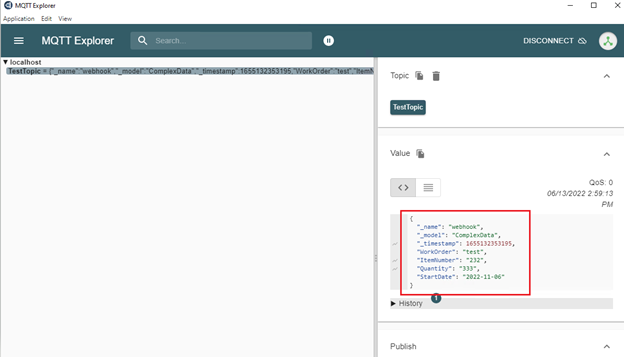
Step 6: Lastly to test the flow, go back to postman and send the POST request again. You will be able to see the data within MQTT Explorer:
 March 12, 2025